Getting Started with Live Agents
This guide will walk you through the process of getting started with live agents using Boei's live chat feature. Let's dive in!
AI Escalation: Boei currently only supports live chat as escalation for AI chatbots.
How to get there:
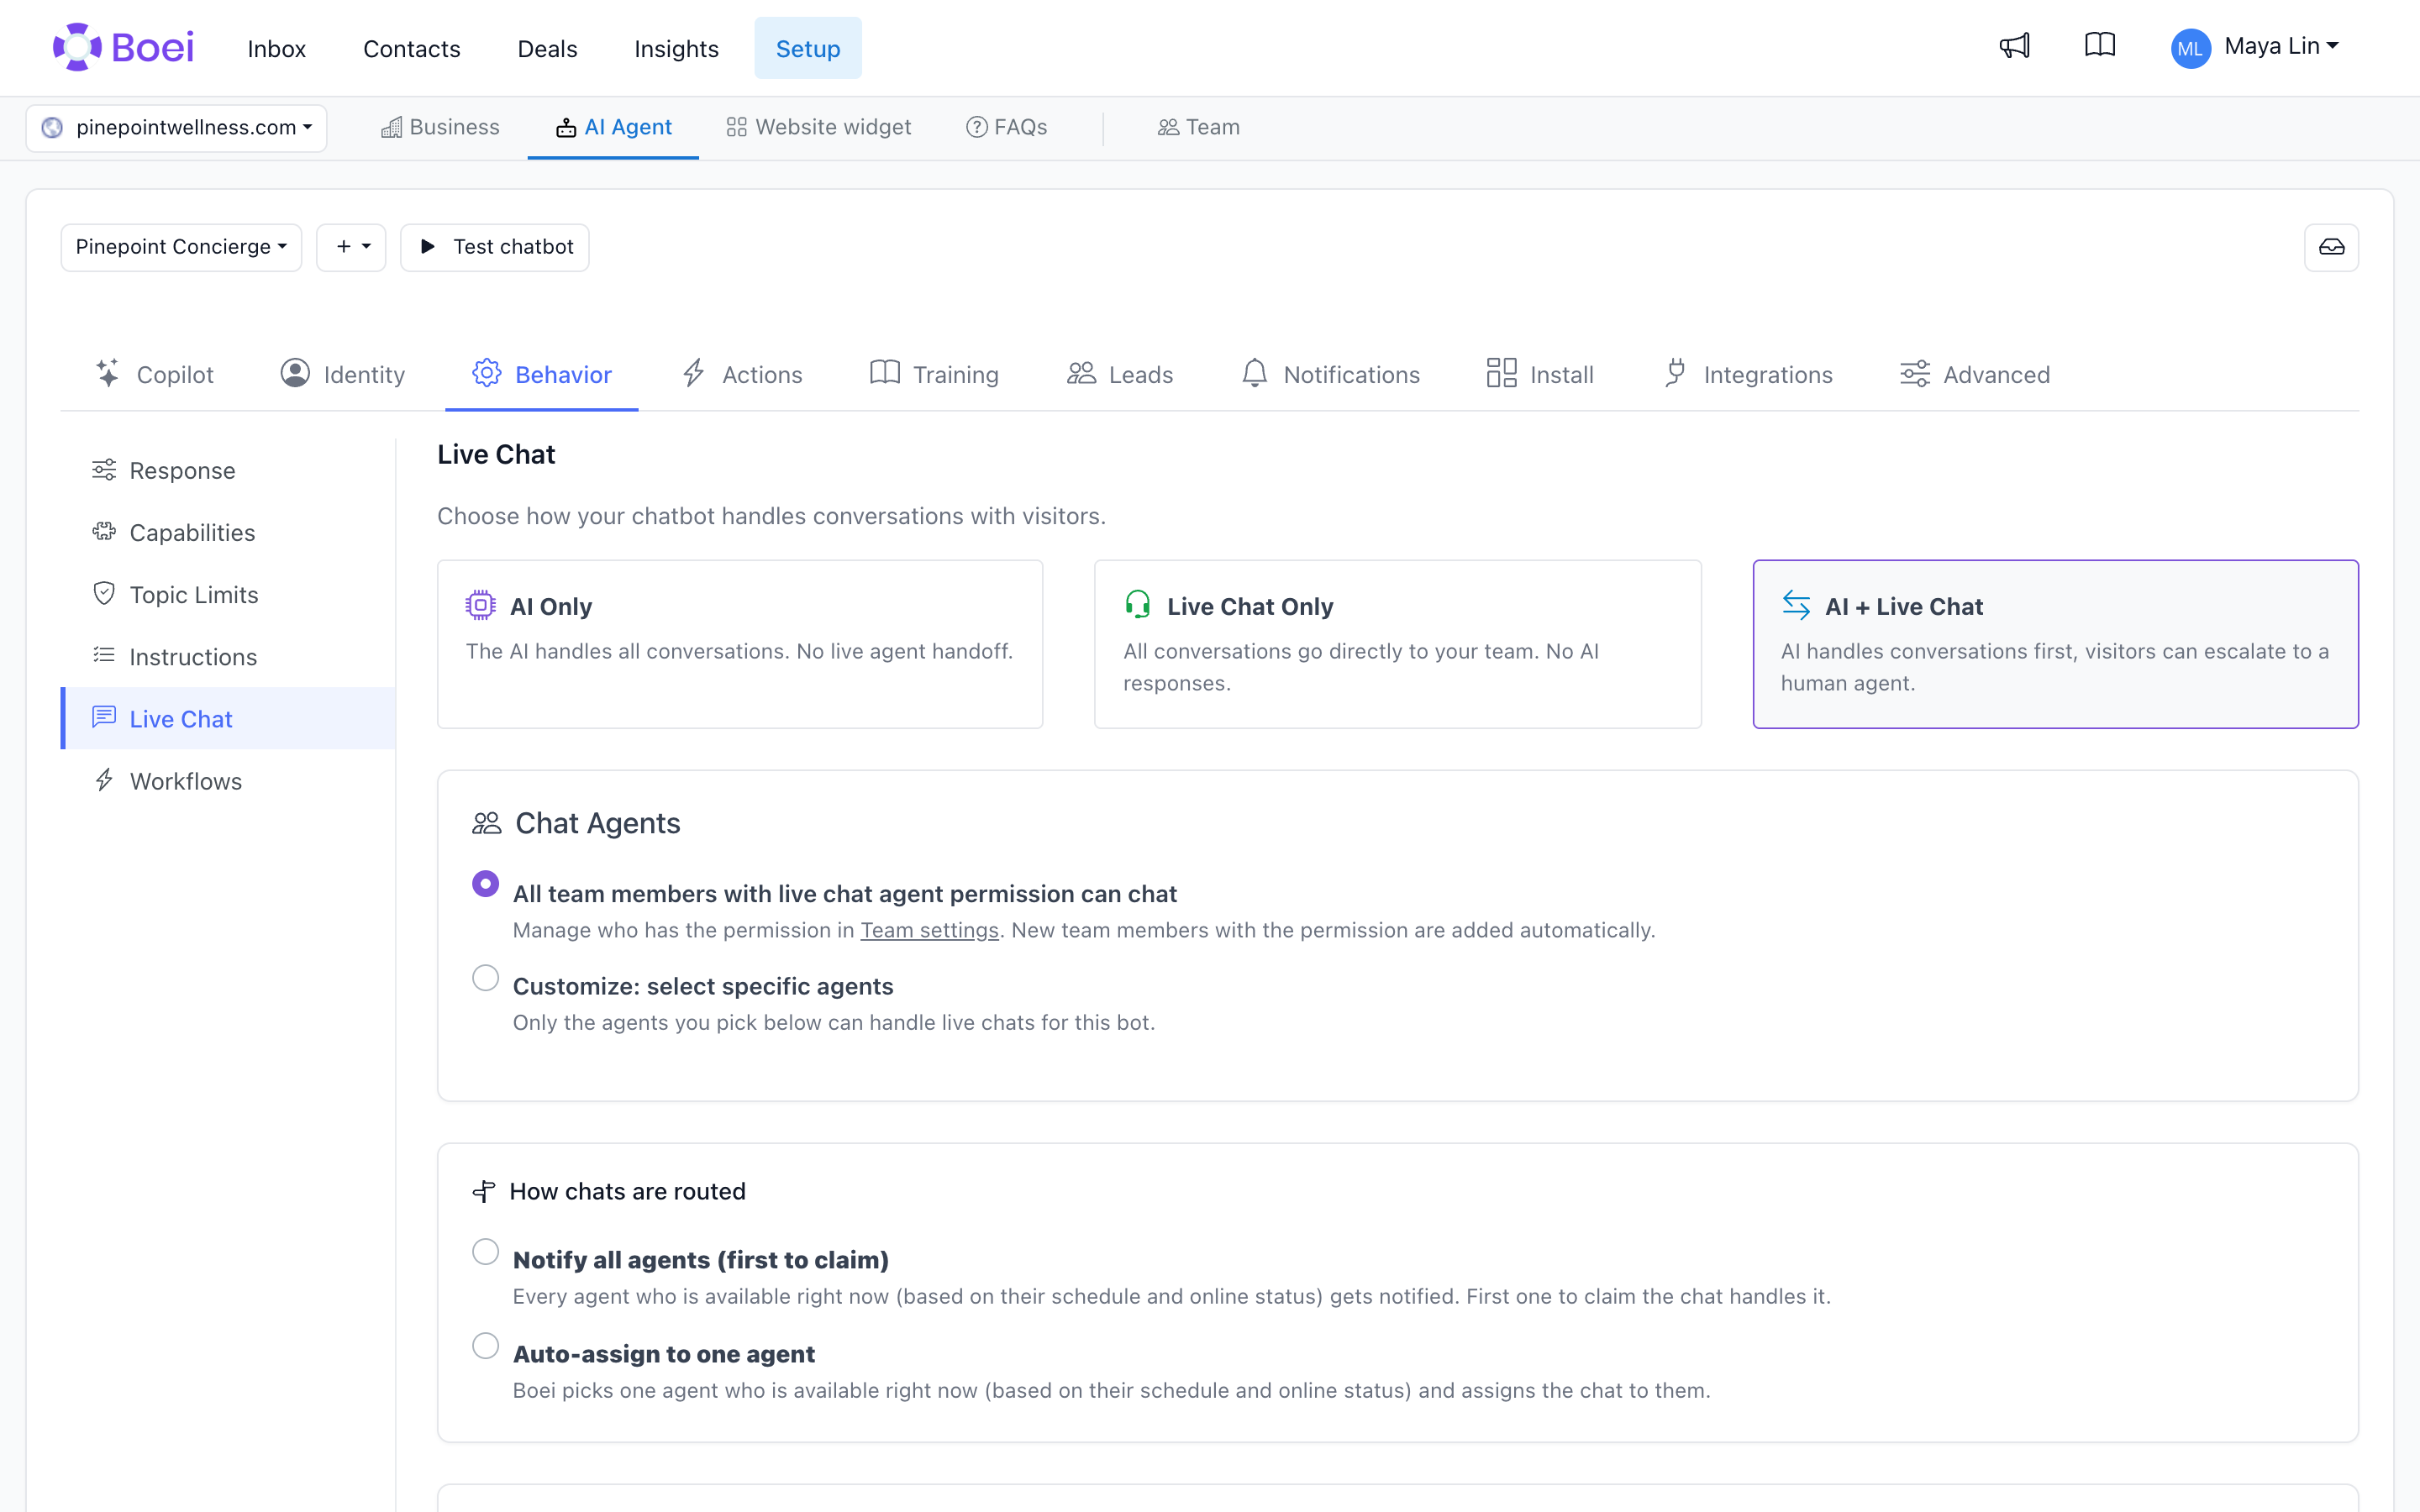
- To configure live chat: Setup → AI agent in the top menu → click your chatbot → Behavior → Live Chat in the sidebar.
- To handle live chats as an agent: Inbox in the top menu.
Introduction to Live Chat
Live chat is a powerful tool that allows businesses to interact with website visitors in real-time. It enhances customer experience, improves conversion rates, and can significantly boost lead generation. With Boei's live chat feature, you can seamlessly integrate this capability into your website.
Adding a Live Agent to your AI Chatbot.
Enable Live Chat Escalation
-
Go to Setup → AI agent in the top menu and open the chatbot you want to edit.
-
In the sidebar, open Behavior → Live Chat.
-
Enable "Live chat escalation".
Add team members and configure them
Now you can add your team members.
You can define the availability mode. When you set it on scheduled hours, you can define the availability hours of that specific agent. These are the options:
-
Only when online - Agent must use the Online toggle in the Inbox to receive chats
-
Scheduled hours only - Agent receives chats only during their weekly schedule. Opening the Inbox or claiming a chat does not override the schedule
-
Scheduled hours or online - Agent receives chats during their weekly schedule, or whenever they use the Online toggle
-
Always available - Agent gets email notifications anytime
The AI chatbot knows beforehand if there are any agents available (based on these settings). If there are no agents available, it will not suggest to use Live Chat.
You can set the max number of concurrent chats so that there is a limit on the number of chats one agent can take.
If the desired team member is not yet available, add them via Setup → Team in the top menu.
Now that you have added the live agents to your AI chatbot, they can log in and start handling conversations from the Inbox.
Accessing the Inbox
Live chats are handled from the Inbox, not a separate dashboard. Click Inbox in the top menu.
Going Online
Once you're in the Inbox, follow these steps to make yourself available:
- Enable Online Status (for modes that use online presence):
-
Locate the Online/Offline toggle in the Inbox toolbar (top of the Inbox page).
-
Switch it to Online. This makes you available to receive new chats.
-
When your mode is Scheduled hours only, the toolbar shows Scheduled hours instead. Your configured weekly schedule controls availability without an Online toggle.
- Stay Alert for New Chats:
-
Keep the Inbox tab open. You will hear a sound notification when a new chat arrives.
-
The browser tab title will flash to alert you of incoming chats.
-
When you close the tab, the agent will go offline after 10 minutes.
Managing Incoming Chats
Handling incoming chats effectively is crucial for providing excellent customer service.
For your customers it will look like this:
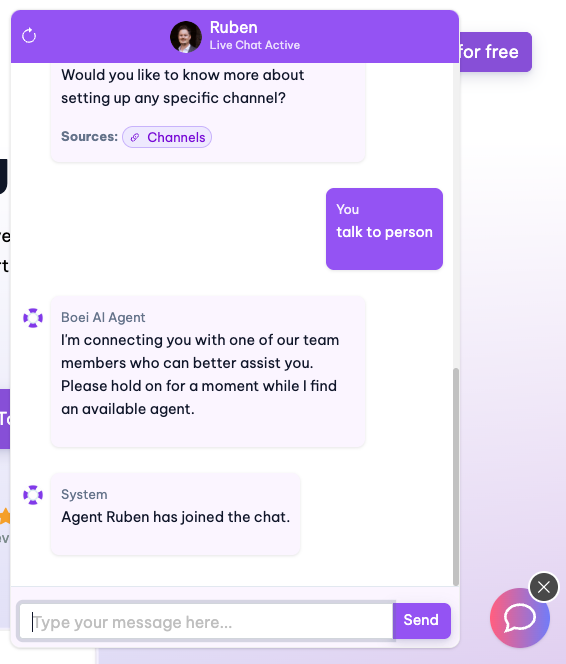
For you as a live agent it will look like this:
- Identifying New Chats:
-
Waiting live chats appear at the top of your Inbox list with a Waiting badge.
-
Click Claim on a waiting chat to take it, or click Take Over on an AI conversation to jump in.
- Responding to Chats:
-
Once you open a chat, you will see the full conversation history.
-
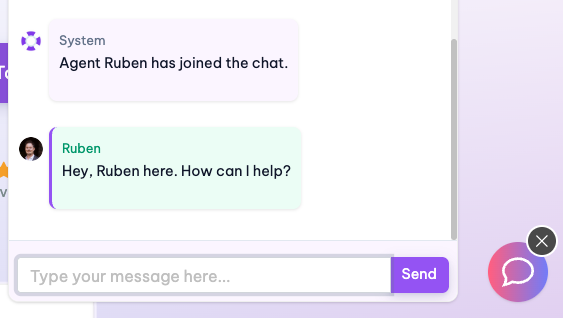
Engage with the client by typing your reply in the message field.
Your customer will see this:
- Closing Chats:
-
Click Mark Closed at any time to end the chat (or change the status to Closed from the status dropdown).
-
If the client does not respond within 15 minutes, the chat will close automatically.
-
Any transcript emails are sent 10 minutes after the chat is closed.
Tips for Effective Live Chat Support
-
Be Prompt: Respond quickly to incoming chats to keep customers engaged.
-
Stay Professional: Maintain a courteous and professional tone throughout the chat.
-
Provide Clear Solutions: Offer concise and clear solutions to customer queries.
-
Follow Up: If needed, follow up on unresolved issues to ensure customer satisfaction.